Earlier in the year (Feb 2026) Joe Legan -known (mostly?) for his “_______ Forward” series of scenario/campaign aids- released a set of WWII air combat rules that is most notable (in my very selfish opinion) for its grid system whose squares are similar to my ‘engagement areas’ (being defined as “within firing range”). Firing opportunities are -like in my rules- created not by pointing the models at each other but by dice rolls that determine the relative positions/advantage of the combatants and the strength of any resultant shots that can be taken. yay.
I threw a quick trial game on the table using stuff I had lying around, which meant I was already tinkering – Laying out a grid of squares would have been easy, but plopping down my ‘roadtrip’ hexboard was easier! I considered using my WWI models, but luckily had a box of 1/600 WWII minis that I’d gotten online some years ago that I could lay my hands on easily – there were a handful of painted Bf109s and Spitfires that also had magnets on their bellies, so…I put them on my stands and got to rolling dice! Plenty of mistakes were made. As with all other times I use someone else’s game (e.g.: Chain of Command, O Group) any and all poor impressions of the rules gained from reading this should be laid upon me and not the game designer.
Just the Basic rules with no special pilot abilities or period tactics: Two elements of Germans against two of British facing each other at altitude level 3. JFL, some painted He-111s from the box were put on the table as a quick scenario-driver: The Germans had to defeat the Spitfires before the bombers exited the table (5 turns) so that they could get down to deal with the (imaginary…cuz they weren’t painted) Hurricanes that would attack the bombers once they got that far.
Apologies for the really bad photos – perhaps some day I’ll take the time to learn how to use my hand-terminal’s camera feature better, but until then…
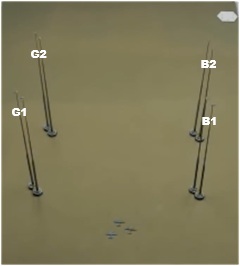
It didn’t take long for me to screw things up: The first to move was the second German element, and rather than plunge into the enemy’s midst they climbed to be in a good “see what happens” position. The mistake = I moved them up two levels (3 to 5), when the rules specifically call out a one-level-maximum…oops. It obviously impacted the way the game played out, but I let it stand (after discovering it much later) because…reasons.
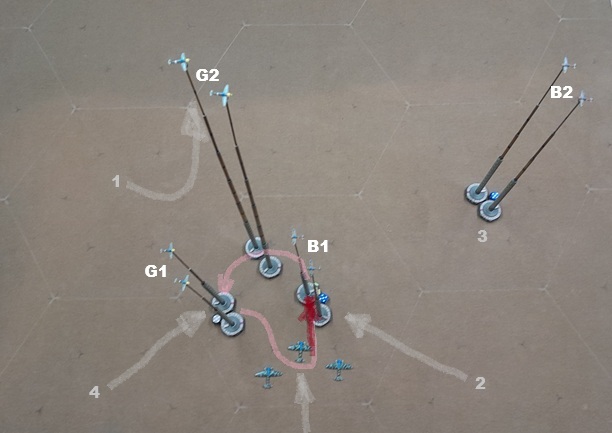
The first British element moved into the central hex – banking a (wingman) 5 die. Their friends in the second element rolled horribly and could only watch as the first German element came in with a sweeping High Speed beam attack – scoring a hit on the cockpit of B1’s leader.
The Spit’s armor saved him from a quick death, but he loses a Performance Die (now rolling 5 instead of 6) as well as suffering a Maneuver penalty (test die reduced from d12 to d10).
The fighting (between G1 and B1) saw them go down an altitude level (3 to 2) as the bombers chugged along beneath. (yeah: everything should have started a level or two higher, but…we’ll pretend the Heinkels are skimming the waves!)
The second turn sees things heat up as the second British element swoops in to relieve the wounded first.
They have no luck, however, and their attempt to line up a shot using a Maneuver Attack fails miserably.
Dice shown are the Maneuver Test: The Spits rolled a d12+5, but couldn’t beat the 109’s d10+4 roll. (see my note on tinkering with these opposed rolls1 )
(NOTE: Remember that my numbers and modifiers and such are likely wrong, so…)
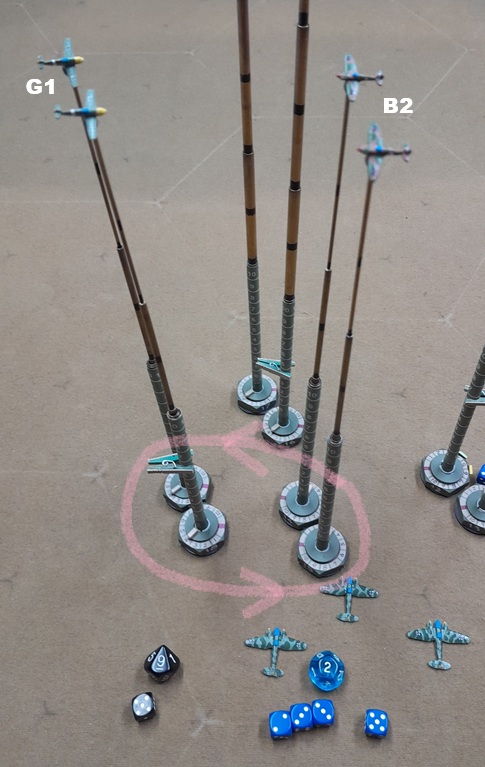
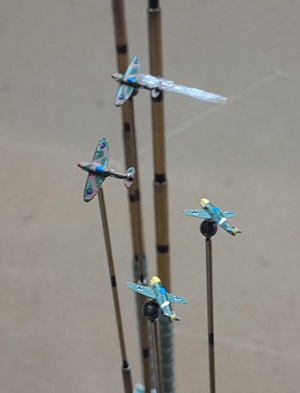
The first British element that had stepped to the side were unable to intervene (rules do not allow another to interfere with an existing tussle = it’s hard to stick your nose into a swirling furball!) and their roll left little else of value for them to do but wait.
Meanwhile, the Germans politely respond to the first British attack: “Oh, is THIS what you were trying to do?”, and add some rheinmetall to the Spitfire’s Merlin (2 hits on the engine: -1 Perf.Die, -1 Speed).
The fight also has the effect of seeing B2’s wingman lose formation and get left behind as the tussle goes up a level (back to 3 where it started).
The second German element comes back down to level 3 as well – had I not screwed up in the first move they would have been able to attack the first British element this turn…oh well…they’ll get their chance!
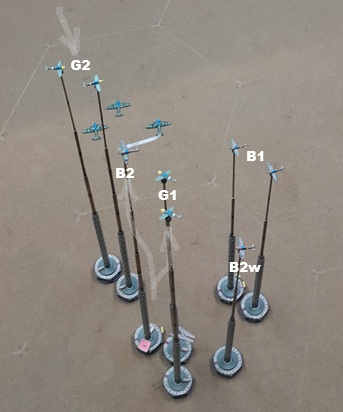
The third turn begins with B2 diving (3 to 2) in an attempt to escape, but G1 has no trouble following (“fine…just makes your inevitable crash come that much sooner.”)

…while adding to the weight of B2’s engine (another engine hit just like the other: -1 PD/Spd).
B2’s wingman comes over and puts some rounds in the German wingman’s direction – no hits are scored, but it does get his attention.
The British first element wins the initiative against G2 but rolls poorly, so must wait for the Germans to pounce……which they do, but don’t secure an advantage and they end up facing each other.2

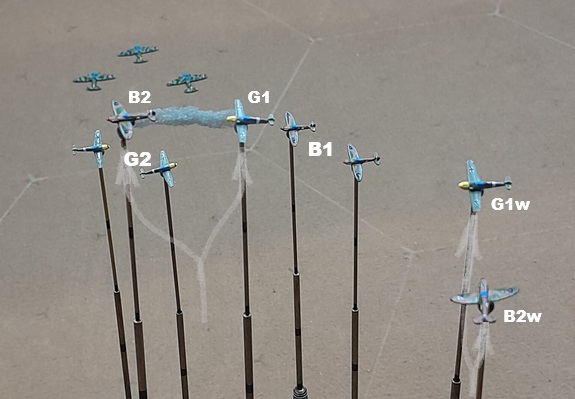
While those two pairs dance, everyone else goes up a level (2 to 3), and the bombers get one more space closer to a British victory, but…
…if it comes it’s going to be a Pyrrhic one, as G1 wins initiative in the next turn, and…
…while he only manages one hit on B2, it lands -you guessed it- in the Merlin once more. That brings the damage taken by the Brit to 3 Performance Dice (the max) and its speed to zero: Time to bail out while there’s still air enough beneath – and it was his turn, next, too…
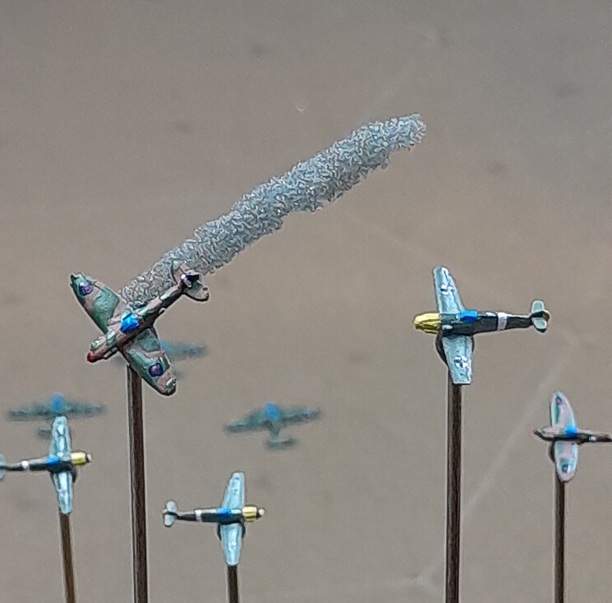
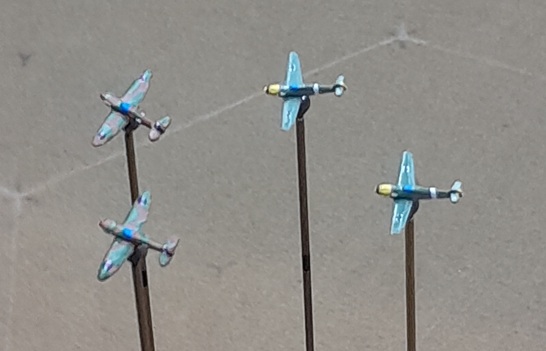
Taking advantage of the die’s seemingly teutonic favor, G2 gets the better of B1 and -despite only scoring a single hit- causes the Merlin engine to seize and pack up: It’s just not a good day for Rolls-Royce!
G1’s wingman rolls little opportunity for combat, and so is satisfied with capitalizing on the superior climb of the Messerschmitt to get himself away from trouble.
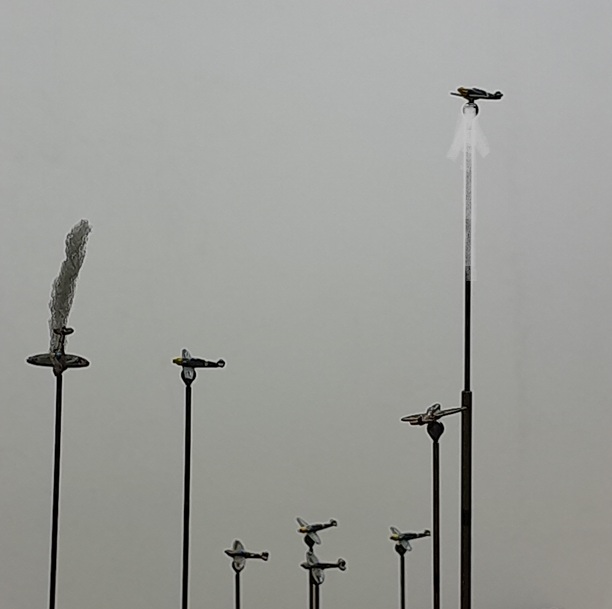
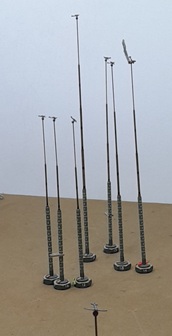
“Getting away” is also on the mind of B1’s wingman: Faced with the choice, he went the “live to fight another day” route – using three 1s to flee.
To restore “Wingmen’s Honor”, B2’s decides to climb up and face his reluctant foe. Unfortunately, his skill at maneuver doesn’t match his zeal for combat, and the only result is his gaining a good view of the British loss, because…
[edit: wroops – mislabeled the British leaders…]
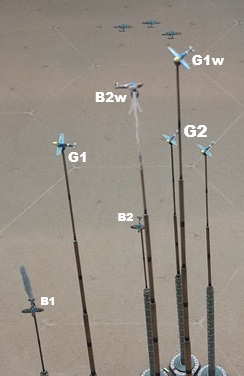
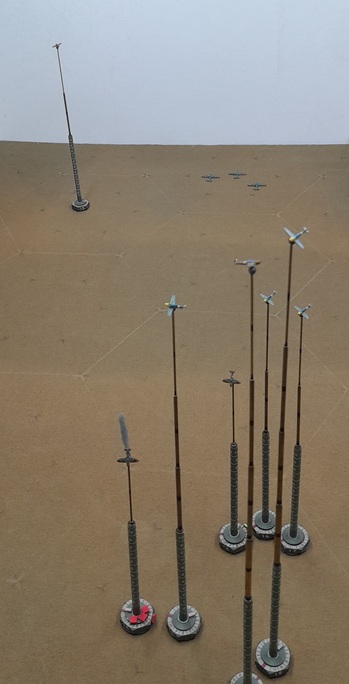
…it’s ruled (by the almighty d6) that dealing with the lone, remaining Spitfire is not enough to keep the Germans from fullfilling the duty of protecting the Bombers (that are still on the table).
That was fun…and more importantly: quick. If you’ve got some airplane toys gathering dust in the corner of your collection, I recommend digging them out and giving the rules a try.
- As written, an attacker that fails an opposed roll like this simply resets the two at a ‘neutral’ status, but…Since the attacker gains an advantageous position if successful in the challenge, perhaps it would be good if the defender does the same if they are the ones who come out the victors? ↩︎
- see note 1 ↩︎

