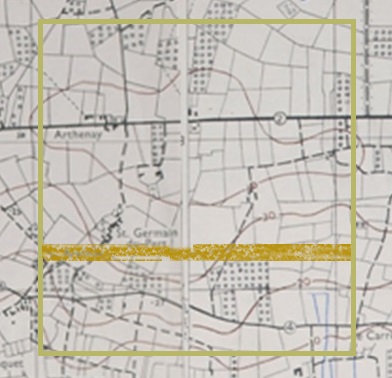
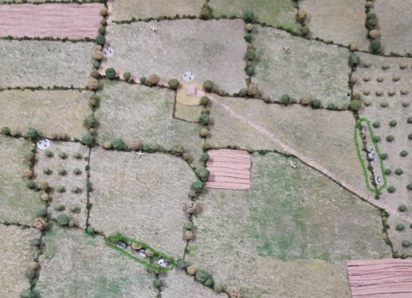
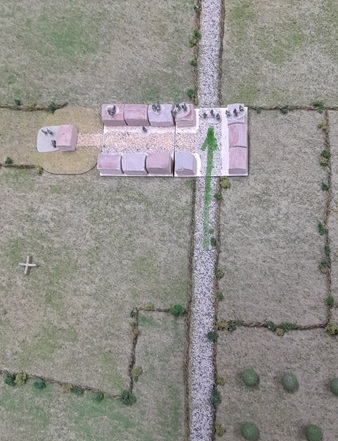
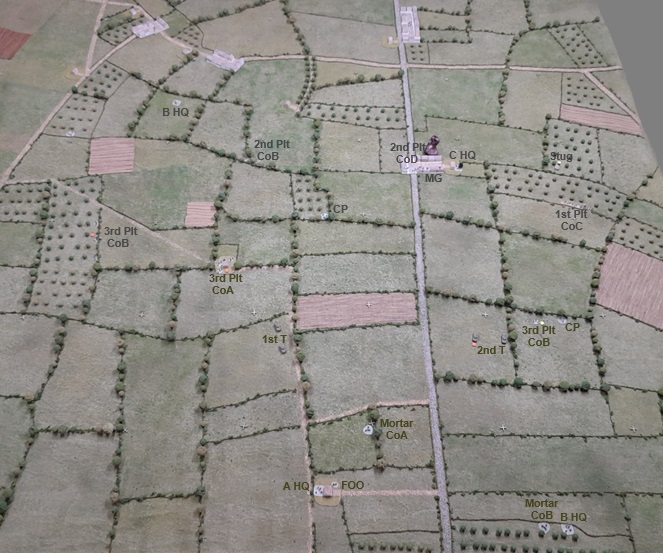
As the American forces advance to the west they meet the next German defence line in front of Arthenay / St.Germain.
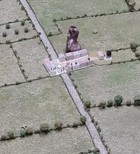
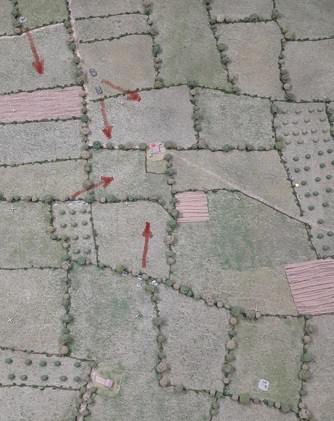
The period map of the battlefield (right at the juncture!)…
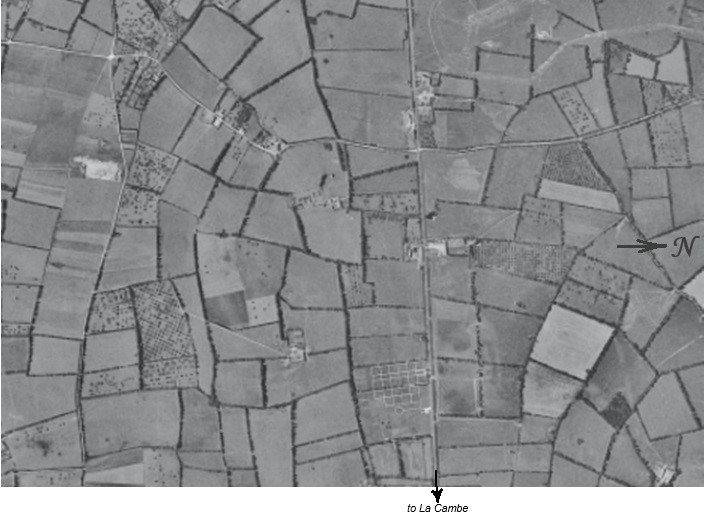
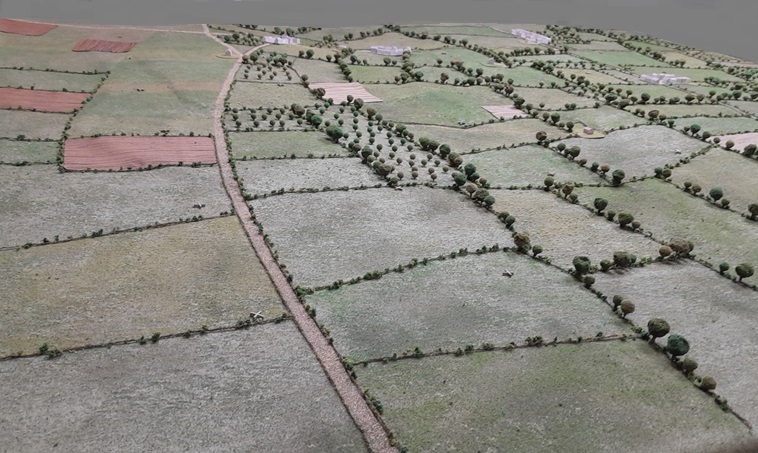
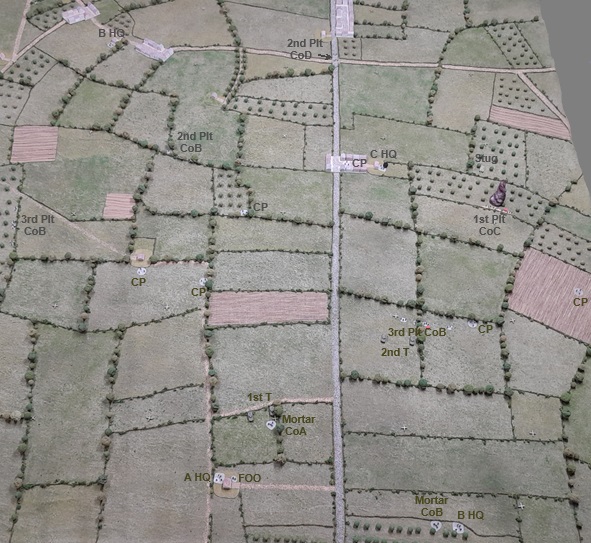
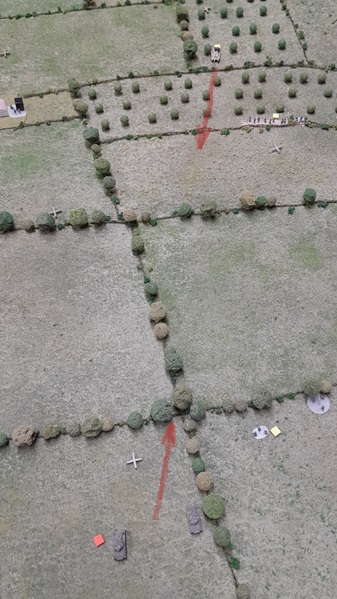
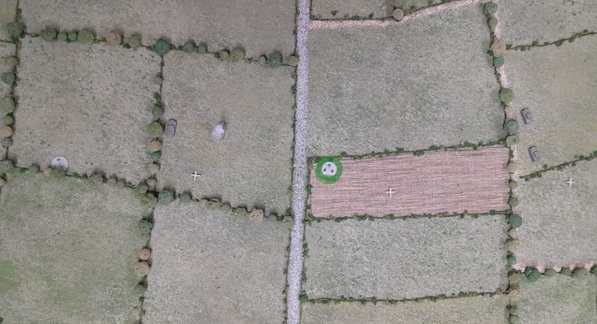
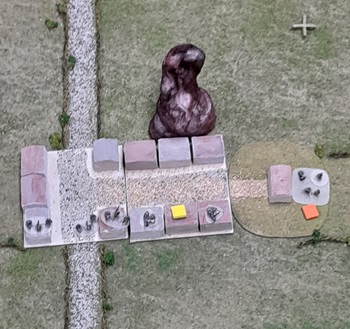
…and a recon photo of the area (from https://ncap.org.uk/)
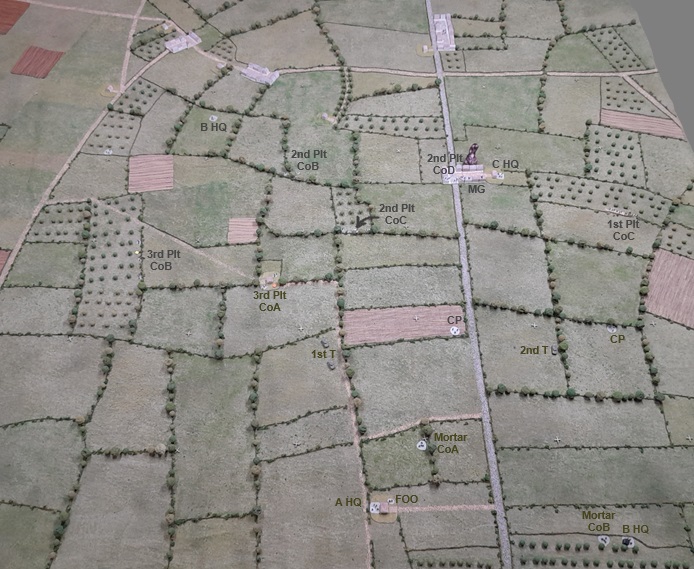
The usual fudging of reality was done in the set up. A lot of liberty was taken representing Arthenay and St.Germain as the period photos show them to be mostly farms, but I used the ‘urban’ BUA mock-ups because it looked better than grouping the farm ones. Additionally: I wanted to include the secondary road to the south of the highway so that there was space for a possible two-battalion attack (if/when the 1st Battalion makes its way down the road). By orienting the 70″x80″ table so that the Americans attack from a long edge I (sort of) created two, side-by-side 4’x6′ tables. This entailed ‘cutting out’ some Norman countryside between the two roads (~100-meter wide swath) and reducing the attack/defense frontages/depths -but since that only brings them to ‘normal’ game-table size I can live with it…
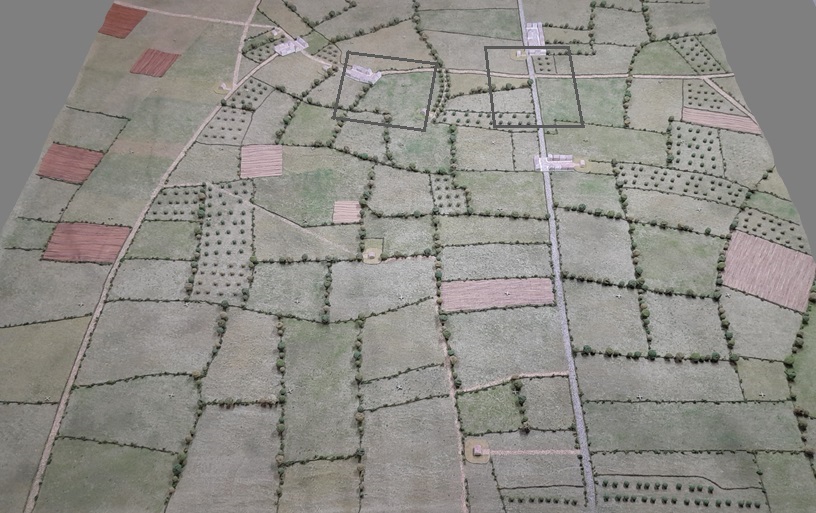
Rough outlines of the two CoC tables (for scenarios two and three) are shown by the grey rectangles.
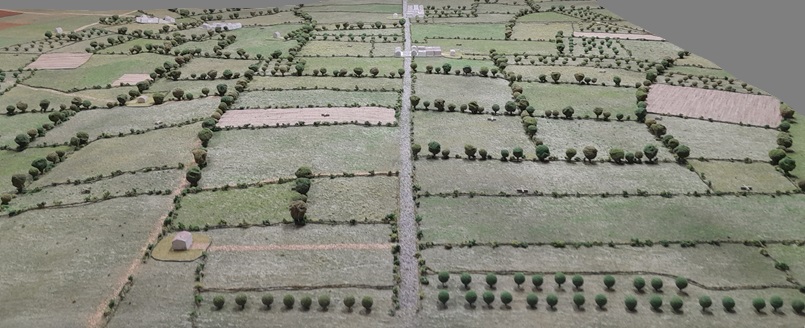
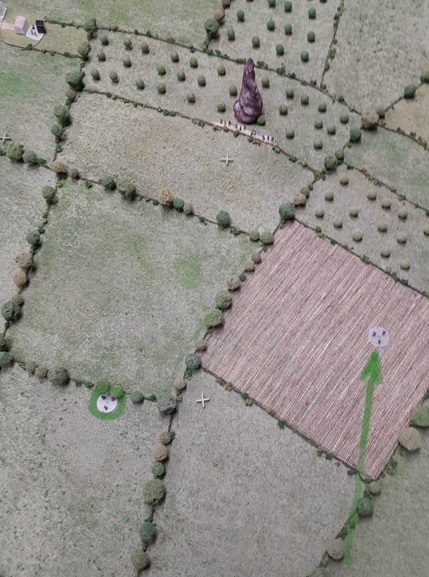
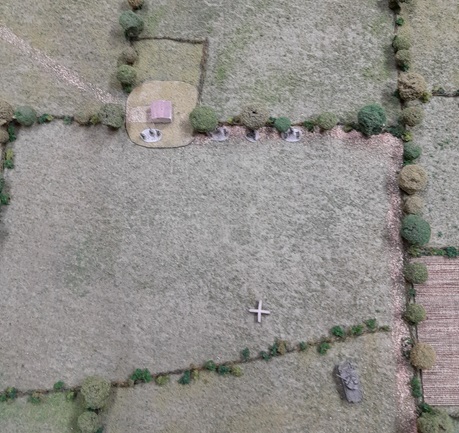
The ground on either side of the highway is fairly level, with little cover in the kilometer or so that must be crossed until the orchards and buildings are reached, which is where the German activity has been reported…
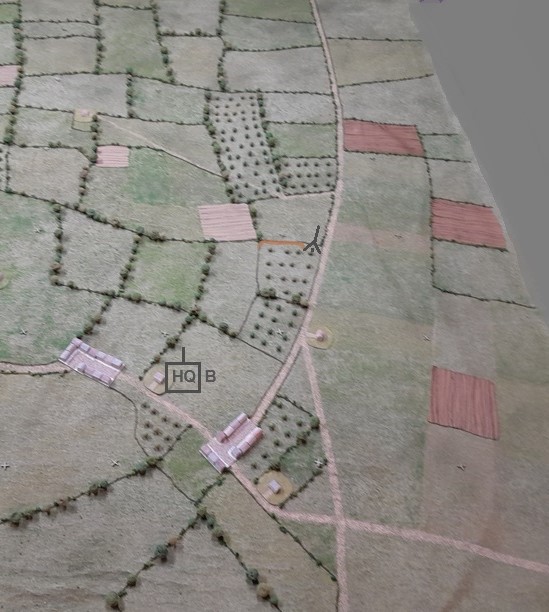
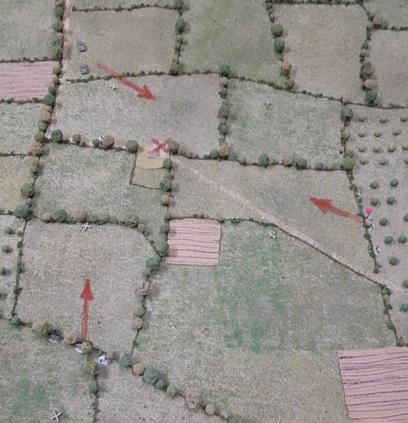
If the 1st Battalion manages to show up, their path on the southern side is not very attractive either, being around 25-meters downhill and with the impassable inundated area on their left flank:
The gung-ho nature of the 3rd Battalion CO has created confusion in the ranks. The hurried attack will suffer by forcing each infantry unit deploying in the first six turns to pass a Troop-rating test to succeed in getting onto the table = the sort of burden the first-time-into-battle green troops don’t really need. But…they do have a full Company of Shermans with them – and the Germans won’t have anything like another Flak battery, right? …right?
…well…no: There’s another 88 in Arthenay (-based on some of the writing I’ve seen), though its field-of-fire is not that great (being blocked by the BUA and orchards to its front). The Germans also have a Pak38 and a section of Stugs (the one that didn’t get hit by the morning’s Jabo attack) in ambush to greet the American tanks should they make an appearance.
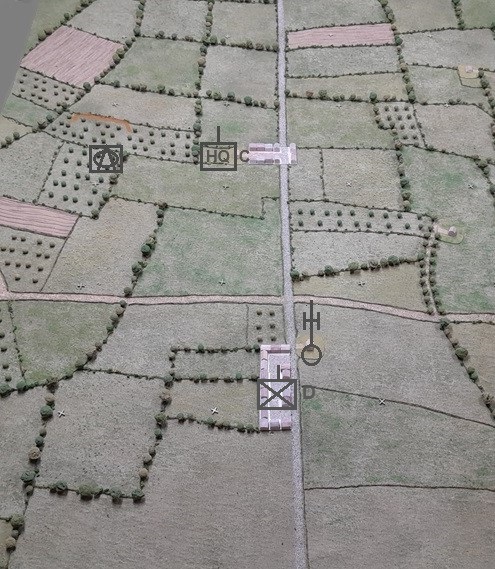
Company D (when they weren’t hiding every time they heard an aircraft overhead…) has managed to dig platoon-sized positions near both ambush locations. One is north of the Co.C HQ on a rise at the edge of an orchard (-the orchard and HQ BUA are in a thin swath of low ground), and the other is on (what passes for) high ground in the south in an orchard in front of the ‘Y’ in the road. The German Commander knows he can’t rely on the Ost troops (what remains of them) to perform well (if at all) in the coming fight, so he holds them in reserve back in Arthenay.
Enough babble…time to roll some dice!
The game develops slowly as both sides face difficulties getting their forces organized and into the fight.
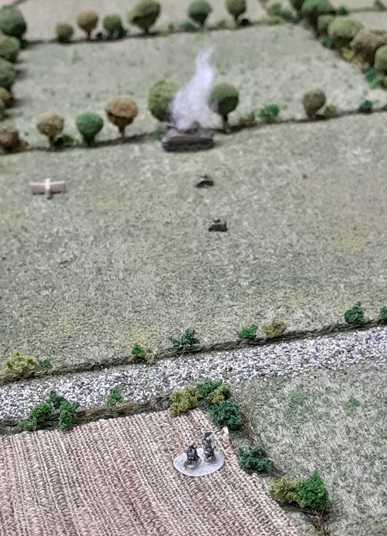
The Americans send/deploy Combat Patrols forward on both sides of the highway (Company A on the left and B on the right) with two platoons of tanks in support. The only American unit to succeed in getting onto the table (besides the tanks) is the Mortar section of Company B.

The German 1st Platoon of Company C starts the game in the trench in the orchard on the American right. Each German Company deploys a Patrol: C into the BUA on the highway and B into the field corner south of that BUA. The Germans (who are under a deployment restriction in the first turn) fail in the attempt to get a Co.B platoon into the orchard (on the left side of the photo), and move the Co.C patrol up to the corner of the small orchard (southeast of the highway BUA).
On the second turn, Company C HQ for the Germans is ‘hesitant’.
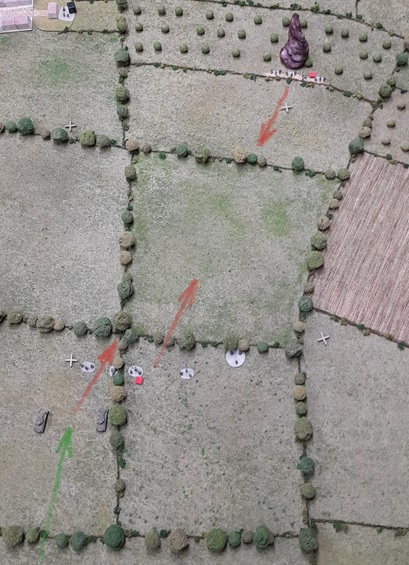
On the left (south) side of the attack, Company A manages to get their mortars on the table behind the tank platoon (nestled behind a rise in the ground while they wait for the infantry to check out the area), but fail to deploy anything onto their CPs – one of which doesn’t quite make it into the farm to its front.
To meet the threat (even if it is -at present- only a potential one) two German platoons of Company B deploy around the farm the Yanks are closing in on: The 2nd to a treeline to the farm’s west and the 3rd in the orchard to its south.
Over on the right (north) side there is at least some shooting – which (if I played it correctly?) allows the Germans to shoot back even though their HQ is ‘hesitant’ (indicated by replacing the ‘messenger’ fig on the HQ base with a black block).
The German trench receives some harassment from the Battalion mortars but suffers no casualties/effect.
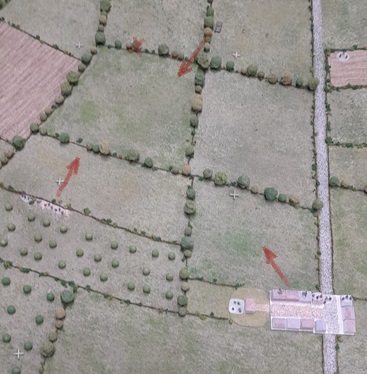
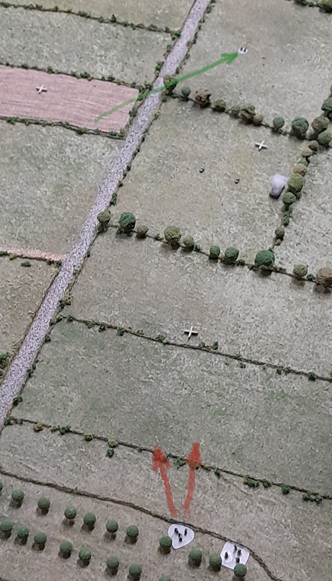
The Americans then deploy a patrol to the treeline and move another up towards the flank – but the attempt to deploy onto it fails.
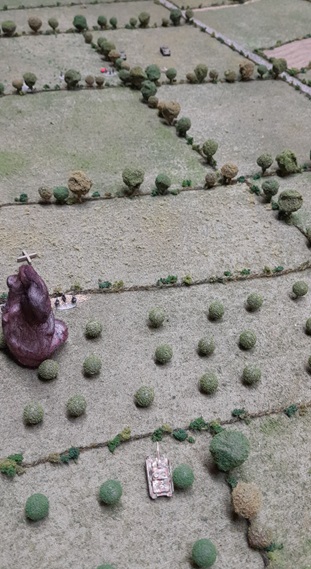
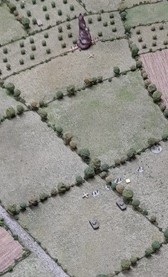
(-a rare photo that shows the clear bases in the best light -literally- with the CP moving across the field showing as was intended without all the nasty reflection of the overhead lamps…)
Finally some boots on the ground!
The 3rd Platoon of Company B manages to deploy and fires on the trench, inflicting a point of shock. The return/react fire is more effective and suppresses the Americans.
The 2nd tank platoon is now happy to move up (behind the infantry) and its fire suppresses the Germans in the trench.
Having moved out from behind the treeline, the Shermans look to be a good enough target for the Stug to reveal itself. It responds to their fire on the trench with its own shot, but misses. (well…there goes the element of surprise for no gain…)

Firing is heard up front – …what’s going on? …is the position holding? – but there’s no word from (the hesitant) Company C HQ, so an Ost platoon is sent up the road…just to be safe.
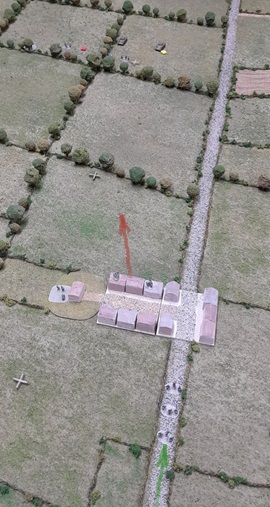
Situation at end of turn two:
At the end of the turn the 1st Battalion is judged to have moved far enough down the secondary road to be ‘in game’. It’s determined that it will take 20 minutes for word of the situation to its front to get from the head of the column back to HQ and for it to then attempt contact with 3rd Battalion and make a plan for attack.
The fight up on the highway (such as it is) continues to be bogged down by confusion: Company B of both American and German forces are ‘hesitant’ – perhaps both HQs are too far from the action to exert control?
The 3rd Platoon doesn’t need to be told by HQ to get its act together, and it rallies off two points of shock.
The FOO also doesn’t need direction to continue the barrage, which lands on target this time but fails to cause any casualties on the entrenched Germans.
Once the dust from the barrage settles the Germans rally, and then HQ pays a visit to alert them to the danger of the patrol moving around their flank: A hosing of the field by the MG42 eliminates the threat (whether real or imagined).
Meanwhile, the Shermans and Stug trade shots (both firing/react-firing in their phase) but the six attacks only manage to score a single point of shock on each side.

With the Shermans being kept busy by the Stug, an MG Platoon deploys into the BUA and fires on the (just rallied) infantry in the field, eliminating one section and suppressing the remaining men.
The Ost platoon has hustled up the road to help, though it looks as though things are well in hand?
South of the highway Company A continues to have trouble sorting itself out. Both of its patrols move up, but three attempts to get some troops in place fail.
The Infantry CO assures the tank platoon commander that it’s safe to move up – “Trust me, there’s infantry up there, you won’t be hung out alone…”

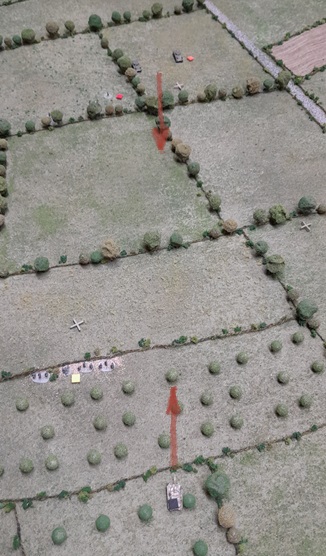
Situation at end of turn three:


The Germans have their hand on the wheel, and use the initiative to pound the 3rd Platoon. It had rallied (again), but the German MGs pour two more rounds of fire (using an HQ order) to suppress them (again) and take out a second section. An attempted withdrawal fails (though the Company HQ prevents a rout), so the Germans in the trench join in, eliminating the American’s attached MG.
The fight between the armor again sees misses all-round, but then in the American phase hits finally land: The Stug is damaged and one Sherman section (after rallying off its previous shock) ends with two points of shock.
They may not be needed, now, but the Company D men aren’t going to go all the way back to town, so they take up positions in the BUA next to the MGs.
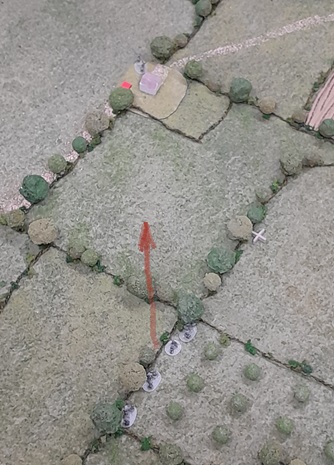
In the south, fire from the orchard takes out the U.S. CP in the farm, but return/react fire from the tanks suppresses the Germans. A second attack by the tanks in their phase misses but the Company A mortars take out the attached Panzerschreck team.
Fire from the German’s 2nd Platoon in the treeline misses the CP across the way, but (no surprise) the attempt to deploy on it fails.
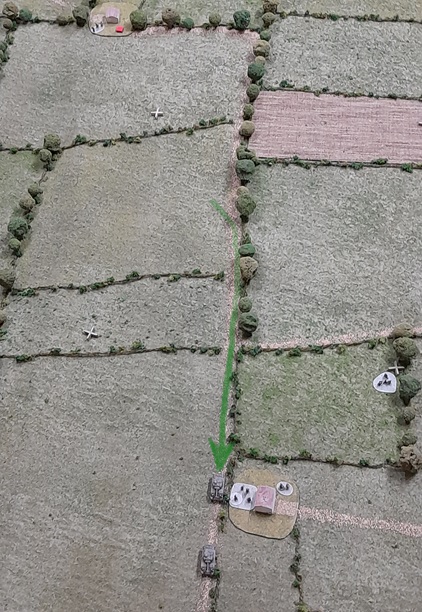
Third time’s the charm! (well…ninth time, actually…but that’s not as catchy a phrase?). In the regroup phase Company A deploys a platoon into the treeline/farm.
The Shermans feel a bit better, but...there’s supposed to be a Company here…where is everybody?
Feeling out of touch, perhaps, the German Company B HQ decides to move out of its comfortable farm and get closer to the action (read: move up to within the 18″ command radius!).
Unfortunately, this has the unintended consequence of causing them to miss getting word of the existence of the American 1st Battalion.

Situation at end of turn four:


The German Company C HQ is ‘hesitant’ again, but the Germans win the initiative and use it to try to settle things on the south side.
The Company B 2nd Platoon trades fire with the Americans across the fields but loses the exchange – inflicting only a single point of shock while ending up suppressed.
The (thankfully now close enough) German HQ pays a visit to rally the 2nd platoon, while the 3rd in the orchard also succeeds in rallying off the shock they’d taken from the tanks and mortars.
The rallying comes in handy as the tanks up the hill put two new points of shock into the orchard. The company mortars miss, though, so…
…the Germans can fire back (inflicting a point of shock) on the American 3rd Platoon as it moves into the farm and shoots (but misses).

Seeing so much activity in the buildings up ahead, the FOO decides it’s a juicier target than the trench.
The resulting barrage isn’t on target, though, and only causes a single point of shock on the Ost Platoon.
The Shermans and Stug continue their poor shooting, trading fire with no effect on either side.
The American 3rd Platoon (what’s left of them) takes advantage of the ‘hesitant’ Germans to rally off two points of shock. (Not sure if I played it correctly, but thought that -if they tried to move- it could/would draw a reaction from those nasty MGs?)
It will come as no surprise that the attempt by the Americans to deploy a platoon (or -at this point: anything) to the CP there fails.
Situation at the end of turn five:
At the end of the turn the 1st Battalion sends a message to the 3rd Battalion HQ advising of their presence. This news is also made known to the German HQ of Company B (once the messenger finds them…).
Now it’s the U.S. Company B HQ’s turn to be ‘hesitant’, and the Germans (once again) hold the initiative…ugh. At least this will be the last turn the Americans suffer from the deployment restriction/test.
The Stug finally takes out a Sherman (triggering a FUBAR for the Americans) – react fire from the other Sherman inflicts a point of shock.
The American 3rd Platoon manages to accomplish something by forcing the Germans to use three orders to have the platoon in the trench, the MGs, and finally fire from the Ost Platoon take it out.
In its phase, the remaining Sherman section takes out the Stug to notch a kill for the Americans on the north side: They’re now tied with the southern force which had KO-d a Panzerschreck team ...yay.


The FOO continues the barrage on the buildings, but again fails to get the rounds on target and it has no effect.
On the south side the American platoon in the farm becomes the center of (unwelcome, but not unexpected) attention. The German 2nd Platoon in the treeline to the west suppresses them (react fire from the lead Sherman section misses). The German Co.C CO (who seems to have things to the north in hand) deploys a platoon into the small orchard and takes out the American’s attached MG in the farm (react fire from the U.S. mortars has no effect). With the Yanks on the ropes, Company B’s HQ orders the 2nd Platoon to fire again, and a section is KO’d.
The Shermans fire into the orchard (where it looks like they could kill something?) but…zilch. The German platoon there rallies off its shock at the end of the turn.
In the regroup phase the Germans plant a CP right in the middle of the Shermans to get the tankers (who are now, effectively, the front line of the American attack) thinking about a Panzerfaust/-schreck ambush?
Situation at the end of turn six:
As the turn ends the clock shows a little past three in the afternoon (1506, to be precise). The gung-ho 3rd Battalion CO urges the not-as-keen-for-glory(-or death!) 1st Battalion Commander to mount an immediate attack in the south. The idea is not well-received (much less ‘obeyed’), and further debate will take place while the current attack continues, though without much ‘gusto’ because…
…the 3rd Battalion is just one more casualty away from a second FUBAR, and the FOO has sent word that the mortar battery has ammo on hand for only one more barrage – a resupply is needed if they’re to continue dropping rounds at the same frequency. The Tank Company CO also makes his opinion clear that he’s not about to send his tanks in alone to clear out the German positions.
Being thus outnumbered with votes to ‘ease up on the gas’ (-if not outright: ‘hit the brakes’) the chance for the 3rd Battalion CO to get his way is poor, and a regrouping/planning session is likely to occur before the current fight(game) goes much further, but…
…for now another turn (at least) will get played:
The southern German HQ (Company B) is ‘hesitant’, but the Germans also win the initiative, so the Americans won’t have a chance to do anything but react.
To convince the Americans to choose ‘the better part of valour’, the platoon in the trench and the MGs take out the lone Company B CP in the treeline.
The Sherman sends some HE into the trench in response but doesn’t score any hits.
The Panzerschreck team deploys onto the new CP to attack the flank of the lone Sherman section (just like the Americans suspected, but what could they do besides hope the German player rolled less than a ‘3’ to get into range?).
A critical hit is scored, but since the American player rolled a ‘4’ for the damage result (no surprise?) it didn’t really matter…
That’s a second FUBAR, and the Americans lose two HQ orders as a result.
The Company B mortars react fire on the Germans but miss…twice: trying again after the team react-withdraws from under the first attack.
The German Co.C 2nd Platoon in the orchard on the south side takes a shot at the farm, taking out one of the two remaining American sections.
The tanks there choose to quit and pull back – making sure to let the Company A HQ know as they drive past what they think of the infantry ‘support’ they’d received…
That pretty much signals the end of the line for the Americans, but before the withdrawal is called the FOO drops his last barrage: It misses (again) but at least inflicts some shock (not that it does any good at this point…).
It’s back to the drawing(planning) board for the Americans.
