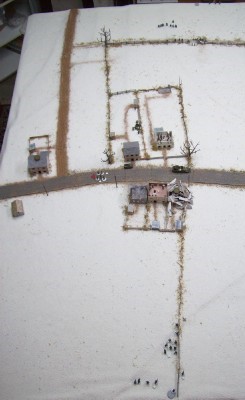
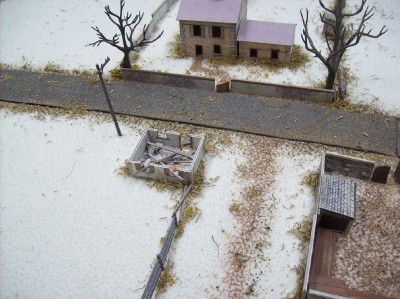
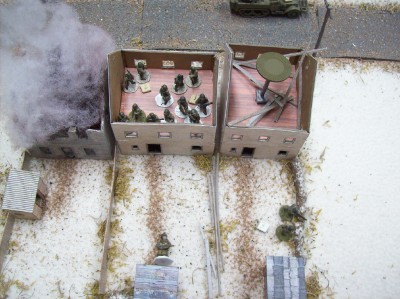
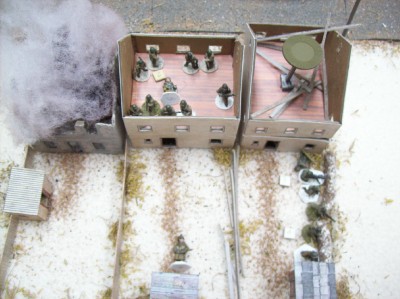
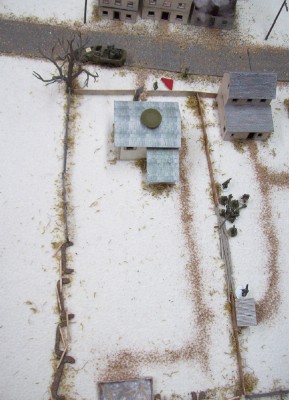
16 December, 1000 hrs. The Germans attack the outskirts of town from two sides: The 3rd Company will renew its assault from the valley in the south while the 1st Company swings around the hill to the north. The request for an artillery barrage to soften up the defenders has been granted, and manages to hit the row houses on the SW side of town hard (center photo below), setting the western building on fire while collapsing the roof of the eastern one. A shed on the NW corner as well as the small house next to the smithy have also been destroyed.

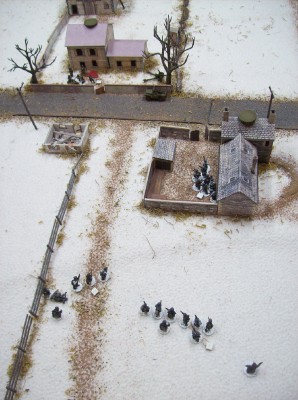
Initial moves on the south see the Sturm Platoon moving up toward the houses faced by an American squad deployed into the entrenchments along the garden edge.
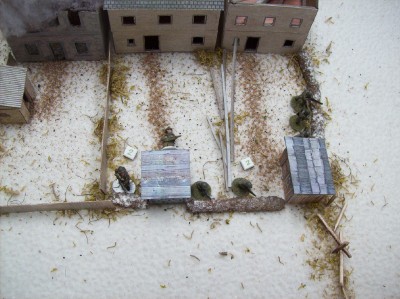
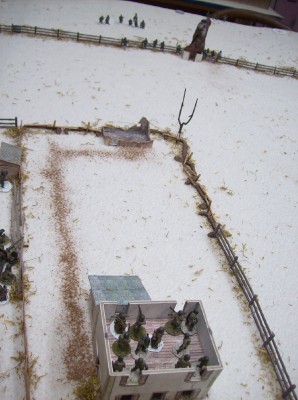
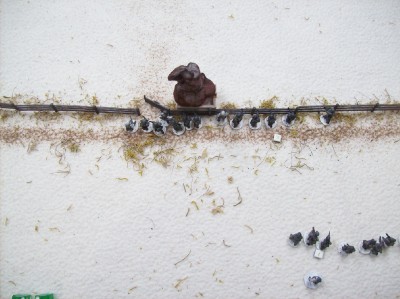
On the right, the reduced garrison of the smithy (who feel they’ve been hung out a bit…) see an entire German platoon moving steadily up the hill toward their position.

On the north side of town the German 1st Company sends its rifle platoon (reduced to two squads) with the attached MMG section over the crest of the hill while a sturm platoon swings around the hill to the right.

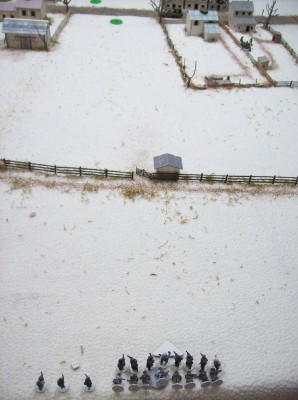
(Note: To represent crossing the open ground while moving around the hill, units of the sturm platoon deploying on the right were first placed lying down, were stood up on their next activation, could then advance on the table on their third activation, and would be subject to fire throughout the process.)
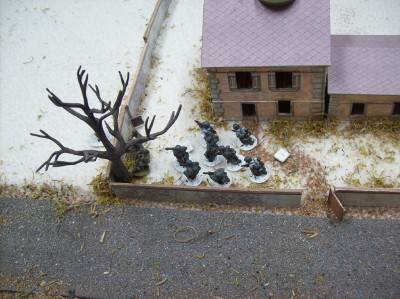
The German attack on the smithy was -as expected- not much of a contest as all but one of the Americans was soon taken out by the overwhelming firepower (including very effective use of the rifle grenade team dropping rounds into the yard).

The survivor fled across the road where the American Lieutenant of the platoon (perhaps wondering why he’d chosen to be there in the first place?) gathered the crew of the AT gun and led them west in the hope of joining the bulk of the US forces there.
Such was not to be, though, as the Germans moved quickly and caught the Americans before they could make good their escape – a quick and one-sided close combat gave the Germans control of the eastern end of the town.

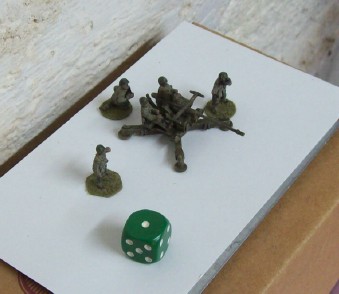
To the west, the Bofors AA gun gave the advancing Germans a bit of trouble as they moved up towards the houses. (It was fun to find that the model could be placed near the cellar wall at its actual position -including elevation- on Map C relative to the table set up!)
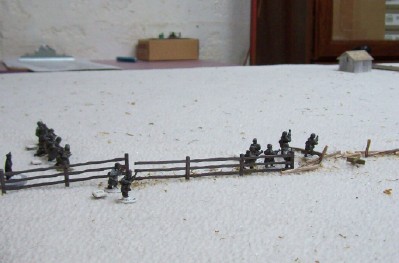
The US squad in the gardens suffered poorly, and another squad (with mostly HQ troops filling in the ranks) added to the defense from the center house while a 30-cal MMG tried to put fire into the Germans to the east advancing on the smithy.
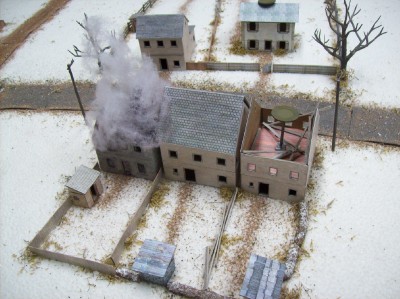
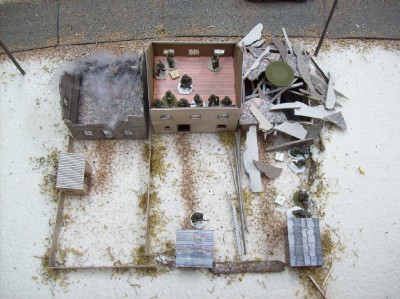
The Germans took casualties (losing most of the first assault squad) but moved up steadily and eliminated most of the Americans in the garden. Turn end saw the building on their right collapse.


Two of the MG crew were taken out by the falling rubble, and the shock on the remaining rifleman was enough to send them running for the rear, leaving the remains of the squad in the center house to defend south of the road.

In the north, the M16 was putting fire into the Germans crossing the open fields and coming over the hill, and was joined by the AT gun and a squad deployed to the entrenchments along the fenceline. Unfortunately for the Americans the JL of that squad had been wounded in the barrage – his ability to rally his men would be sorely missed.

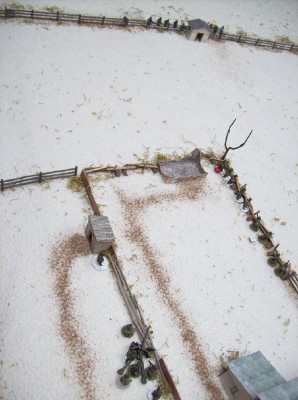
The German sturm squads managed to reach the fenceline in good enough shape such that -once within range- they could put heavy fire from their assault weapons onto the Americans.
The shock accumulated quickly along with the casualties (which included the American squad leader) and the remaining men joined their comrades from across the road in fleeing the battle.
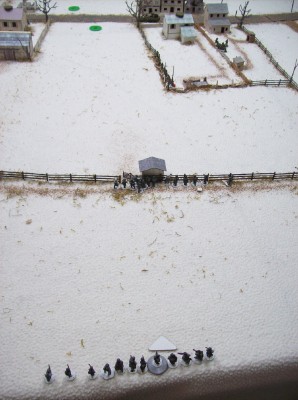
A fresh, very green squad (comprised mostly of HQ men) deployed into the house to support the AT gun, Platoon SL, and M16 (off-camera in road below house) in maintaining the defense on the north.
Further help came in the form of three strikes from the mortars back on Map C, which pretty much eliminated the rifle platoon and MG section on the German left flank.

Even the one errant shot (resulting in a 5d-deviation) landed to the west right smack on the sturm squads along the fence…
That good fortune for the Americans was not enough to counter the bad that the fleeing of two squads (and the loss of the SL in close combat) had on their morale, which collapsed to zero and forced them to withdraw, ceding the ground (and the two AT guns) to the Germans.