This is a series of games based on TFL’s “Bloody Bucket” pint-sized campaign. The first game/scenario was played when the intent was to follow the campaign ‘by the book’. Having been resurrected after more than a year a different, smaller-scale campaign that follows only the battle for the town of Holzthum supplanted the original – thus the use of the word “Pint” to replace “Bucket” in the title – and begins with the assumption that the Campaign Turn One battle at Cafe Schinker has gone ahead and its result (a German victory) a done-deal.
While the Chain of Command rules (and their campaign supplement At the Sharp End) are used, the games that follow do not strictly follow the format for scenario definition, set up, and/or victory conditions – and suffered from the usual tinkering/mucking I always do with every game I play. It would be most accurate to say that ‘CoC rules were (sort of) used to play the games‘ rather than that ‘CoC games were played‘…or something to that effect. Also, I realize that framing the campaign as one where players represent Company Commanders (rather than Platoon) lends itself better to a company-level ruleset (such as IABSM) but this will have to do!
Reference materials (beyond leaning heavily on TFL’s research in the Pint Sized Campaign) included the US Army history series (The Ardennes – Battle of the Bulge), John McManus’s book “Alamo in the Ardennes”, and whatever else I gleaned from the bookshelf and/or internet searches. A reconnaissance photo from January ’45 (from https://ncap.org.uk/) and some contour information from Contour Map Creator were used to design/build the tables. They’re not exacting models by any stretch of the imagination and plenty of fudging was done to accommodate both the building models available (with the need to build/have two tables to accommodate simultaneous play on two battlefields) and campaign/scenario design. Also, the details of the forces used make no claim to historical representation, being dependent on available toys and GM whim, and act in the same way. Those caveats/disclaimers aside, it’s on to the show…
CAMPAIGN TIMELINE / PARAMETERS
The campaign covers the first day-and-a-half of the Battle of the Bulge with the attack on the town of Holzthum just to the west of Skyline Drive by a German Battalion of the 26th Volksgrenadier Division against Company L, 110th Regt of the US 28th Infantry division. The objective for the German player is to fight through the town as rapidly as possible to clear the route for the panzers through to the west which leads to Consthum and then to Bastogne.
The following clock applies to the campaign:
Day One: Turn 1 = 0700, Turn 2 = 0800, Turn 3 = 1000, Turn 4 = 1200, Turn 5 = 1400, Turn 6 = 1600
Night: Turn 7 = 1900, Turn 8 = 0000, Turn 9 = 0400
Day Two: Turn 10 = 0700, Turn 11 = 0900, Turn 12 = 1100
As in “Bloody Bucket”, the Germans may choose to initiate two attacks per campaign turn against two different tables. The “Blitzkreig” rule from there also applies, allowing victorious Germans to immediately attack the next table in the same campaign turn.
CAMPAIGN AREA

Table A (60″x80″) will cover the approach to the town, with a farm complex acting as the center of the American defenses. Table B (70″x80″) will represent the outskirts of the town and, in addition to assault along the road once Table A falls, is subject to attacks from the valley to the south as well as from the north (once German forces move around the hill -from campaign turn 3 onwards). Table C (70″x80″) will represent the town center and can only be attacked from Table B because of the steep slopes that border its northern and southern sides. Any American reinforcements will arrive on the road from Consthum at the point marked with the green arrow. The red X marks the location of the Cafe – American long-range weapons (such as AT and AA guns) on Tables B and C may be able to interdict/fire-upon German units that advance up the road from the Cafe if visibility/L-O-S allow.
If the Germans capture all three maps by the end of Turn 4 they win a major victory, if by the end of Turn 6 a significant victory, if by the end of Turn 9 a victory, and if by the end of Turn 12 a narrow victory.
If one map remains in US control at the end of Turn 12 the Americans win a victory, if two maps a major victory, and if all three maps a frackin’ amazing victory.
THE FORCES
The Americans field an infantry company (3 rifle platoons and a weapons platoon) with AT and AA sections in support.


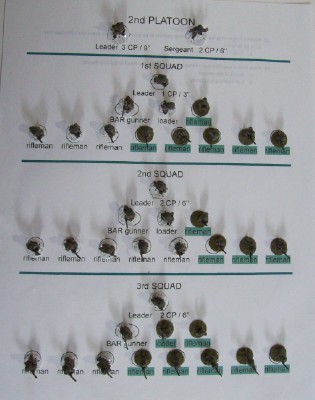

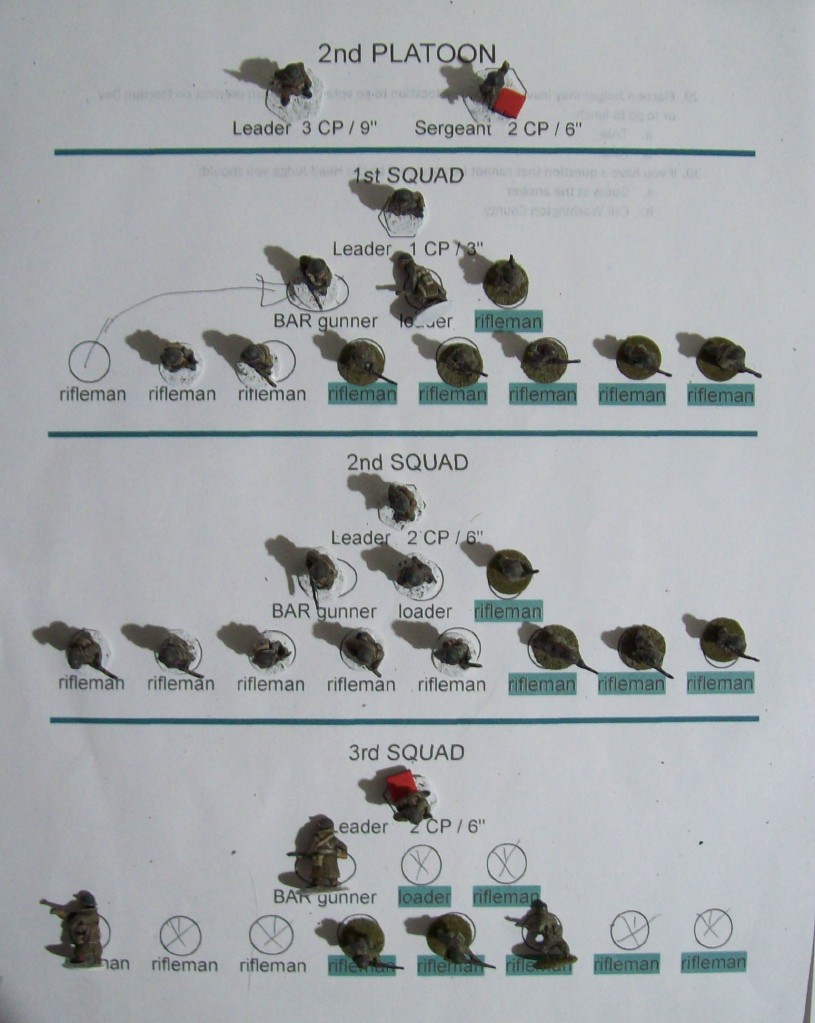
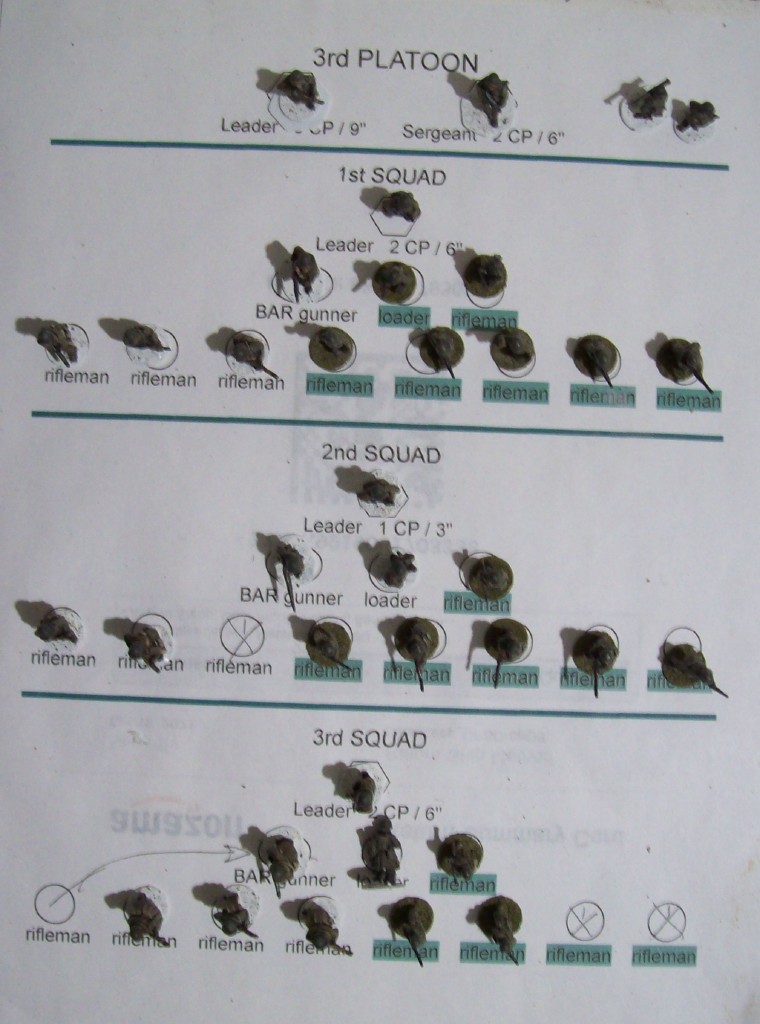
To represent the beat-up nature of the units (recovering from last-month’s battle in the Hurtgen) many of the men are green (as shown by both their bases and labels in the templates above = a look-who’s-trying-to-be-clever justification for not troubling with buying/painting more winter-style figs!), their leaders are new (either replacements or promoted from the ranks), and their morale isn’t great (at -1).
In addition to the usual game impacts of these factors (eg: reduced command initiatives and ranges of new SL and JL, and Force Morale modifiers) the application of hits will vary by troop type within teams/sections. The HQ troops (with the tan bases – a dig-in-the-corners-of-the-pile solution using ‘non-combat-pose’ figs) will suffer additional penalties of command (requiring a Command Initiative from a Junior or Senior Leader to activate) and firing (subtracting one from their to-hit dice), so that their use in the campaign (either as teams/sections or replacement troops) will be sketchy at best. The Battalion CO’s outlook will be tracked to determine the level of support that may come as the campaign progresses.
American Initial Dispositions
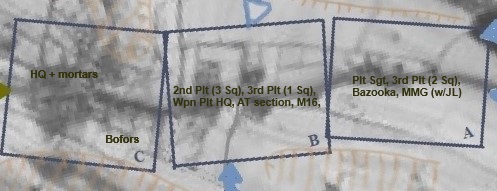
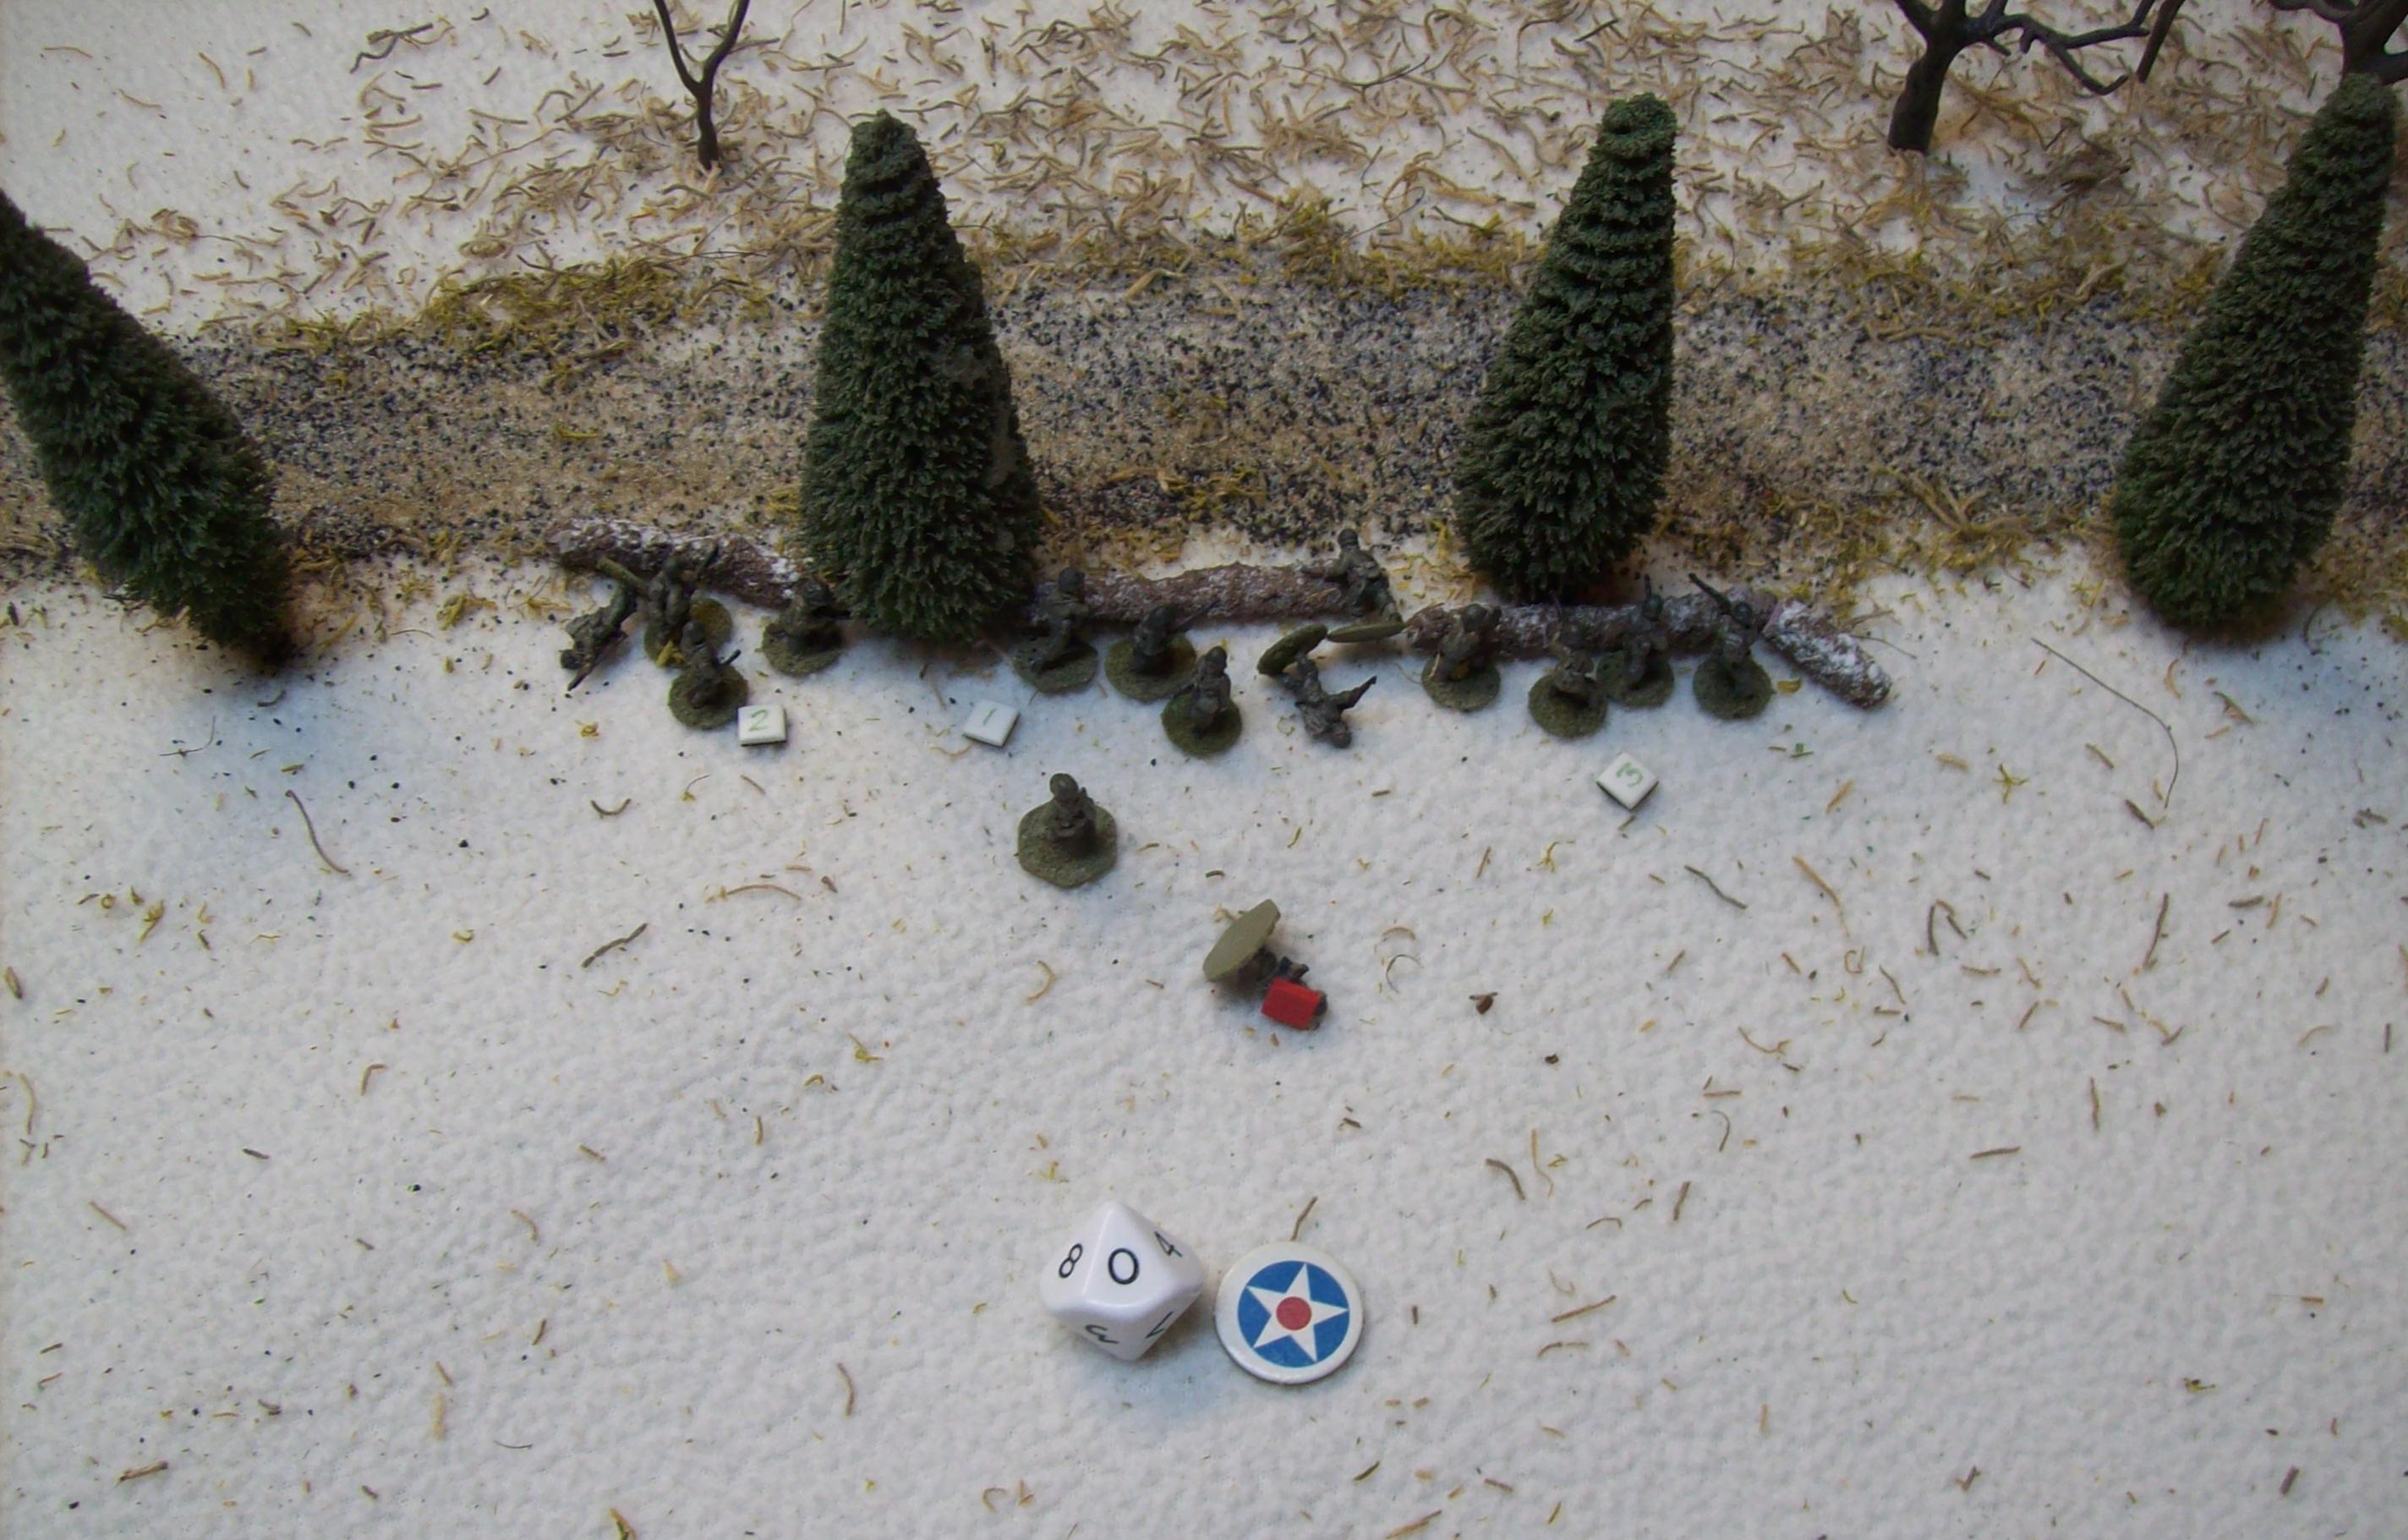
The Sergeant of the 3rd platoon has two squads at the farm on Map A, with a bazooka team and a 30-cal MMG (with the MG section JL) in support. His orders are to delay/annoy anything that comes up the road and then fall back into the town. The HQ company is in the school building on Map C, in the yard of which the mortar section is set up (and has three, pre-set aim-points on both Map A and Map B). Map C also contains the 40mm Bofors AA gun emplaced near the southeast corner with a field of fire on the road to the east. The remainder of the Company (along with the M16 halftrack and AT-gun section) is allocated to defend Map B. Each platoon is allowed to place two entrenchments, and each JL/SL can direct another to be dug if they roll less than or equal to their command rating.
The 1st Platoon (along with one of the 30-cal MMGs -and a jeep) was/is defending the Cafe crossroads so is not available to the American player at the start of the campaign – Whether any of the men involved in the defeat there manage to find their way back to town is not known to him yet.
The Germans will be able to call on the use of three regular companies and the heavy company of a Volksgrenadier Battalion. Supports available and restrictions based on the existence of a bridge over the Our River will be dictated as per the guidelines in “Bloody Bucket”.
Volksgrenadier Company
For the purpose of the campaign it is held that the German Battalion Commander is tasked with taking not only Holzthum but Consthum as well, so victory in the campaign will be tempered/prorated by the number of units remaining (victory reduced one level for each company-sized set of casualties). The Regimental CO’s outlook will be tracked to determine the level of support that may come as the campaign progresses.
THE GAMES
As mentioned above, the first scenario (Skyline Drive from “Bloody Bucket”) is already in the books as a German victory. While the Volksturm platoon leader had some trouble getting his green troops through the fog and into position, the Americans had more difficulty deploying and only managed to get a single squad and the 30-cal MMG team on the table before being overrun. Using the ‘Blitzkreig’ rule, the German 1st Company will now move up the road toward the town (Map A) with the same platoon (with their captured jeep!), a rifle platoon, and the support of an HMG section (2x MG42s).
Before that happens, the attack by the German’s 3rd Company from the valley against Map B (which is occurring at the same time as the fight at the Cafe crossroad) will be played: Turn One, Map B
That done, the attack up the road from the Cafe will be fought: Turn One, Map A
That will see the end of Campaign Turn One. The German player asks for artillery support to renew the attack on the town (Map B) with his forces in the valley (the 3rd Company) but is denied. Hearing that the Americans have pulled back from the farm (Map A), he decides that waiting for the 1st Company to consolidate there and then join the attack on the town on Turn Three will give him the option of using them on either the eastern or northern side of the town. Thus, no attack is made on Campaign Turn Two.
The American player does some regrouping and consolidating of his forces: The HQ Company is stripped to provide replacements for the losses (both in the rifle squads as well as in the AT and MG teams), and men are shuffled about to fill key positions. (figures that are laying down are wounded and could return in Turn Four)
The Americans also use the lull in fighting to dig more entrenchments (shown with brown lines), knock down fences to provide fields of fire and/or reduce cover (shown with black Xs), and shift the AT gun from the position at the smithy to a new one on the west side facing the fields/hill to the north. The other gun remains in its original place facing down the road.


The German attack on Campaign Turn Three is preceded by an artillery barrage, and then they move against the Americans from both the north and south with two companies: Turn Three, Map B (Apologies for the scant/poor write-up. A future fleshing-out may occur, but since I have to finish the much older “Bloody April” AAR as well…well…probably not in the cards.)
That sees the end of the campaign. While it would have been interesting to game out the final crushing of the US force on Table C, other things were on the menu so the file was shelved. Assuming that the Germans would succeed in taking the last table by the end of turn six, it would give them a major victory – though if they suffered casualties at the same rate it would be reduced to a victory, and they would have only two companies to continue the attack down the road to Consthum, so a historical outcome doesn’t seem at all unlikely.
